


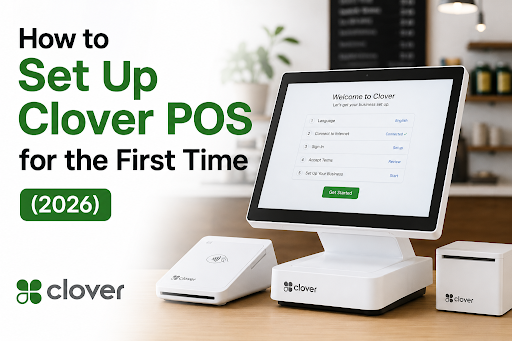
How to Set Up Clover POS for the First Time (2026)
Installing a new payment terminal for your shop, cafe, or other business can feel difficult if you have never done it before. A Clover POS system is built exactly for this. It guides you step by step, from connecting to Wi-Fi to taking your first payment. This guide explains everything in a simple way so you can start accepting payments quickly.
Get Started With Us
Fill in your details and we'll get back to you shortly.
What Is a Clover POS System?
Clover is a cloud-based point of sale platform used by today's retail stores, salons, and other service-based businesses across the world to manage their sales, inventory, staff, and payments from a single device. Totally different from a traditional cash register, it connects your sales data to the cloud in real time — which means you can review reports from your phone even when you're not on-site. That is one of the major reasons that business owners prefer Clover over traditional systems.
What You Need Before You Begin Setup
Before you start setting up your Clover POS device, make sure you have everything you need ready.
- A stable Wi-Fi or internet connection at your business location
- Your business details (legal name, EIN/tax ID, address)
- Bank account information for deposits
- An email address to register your Clover account
- The merchant agreement or activation code provided by your payment processor
Having these items ready beforehand saves you from stopping in the middle of the setup to look for a document or information you need.
Clover POS Setup Step by Step
Step 1: Unbox and Inspect the Hardware
Remove your Clover product, power cord, stand, and card reader/printer very carefully from the box. Ensure that nothing will get damaged and that everything is there as per the packing list. If something is missing, contact your reseller before installing it. It's very easy to resolve after the device is activated.
Step 2: Power On and Connect to a Network
Power on the Clover POS terminal by plugging it in and pressing the power button. On the display, select the network that you need to use, enter the correct Wi-Fi password, and wait until the signal appears. It is highly recommended to set up an Ethernet cable in case the Wi-Fi signal is unstable.
Step 3: Clover POS Activation Process
After connection, the device asks you for an activation code, usually in your email that is sent by your merchant service provider or mentioned in the device document. Enter exactly as provided. It's an important step because your physical device will link with your merchant account.
Step 4: Sign In or Create Your Clover Account
After activation, they ask you to sign in with your Clover ID or create a new one. This account will become your control center. You can access it from the Clover dashboard or mobile, so use an email that you check regularly.
Step 5: Clover POS Initial Configuration
This is where the device becomes "yours." During configuration, you'll set up:
- Business profile: name, address, and contact details that print on receipts
- Tax rates: applied automatically to every transaction
- Hours of operation: useful for reporting and scheduling
- Employee accounts and PINs: so staff can clock in and process sales individually
- Inventory or menu items: products, prices, categories, and modifiers
You can add items manually or import a spreadsheet if you already have a product list, which saves significant time for stores with large catalogs.
Step 6: Connect Payment Processing
Ensure your merchant processor account is linked correctly. However, Clover generally confirms this automatically while activation, but you should still go to Settings > Payments and confirm that your bank account details are correct and that card payments made in person (tap, insert, or swipe) are enabled.
Step 7: Run a Test Transaction
Before your first sale, do a small test of a few cents and refund it immediately. This will confirm that your card reader, receipt printer, and payment gateway are working without any errors.
Step 8: Train Your Staff and Go Live
Teach your sales teams how to make sales, apply discounts, accept different payment methods, and close at the end of the day. A 15-minute training session is enough to learn.
How to Install Clover POS System Apps and Add-ons
One of the benefits of Clover is its app market. After installation, you can add more tools like a customer loyalty program, staff scheduling, accounting, and digital ordering. Install only what your business genuinely needs at first, because too many unused apps can make the system harder for employees to use.
Common Setup Mistakes to Avoid
- Skipping tax configuration, which leads to incorrect totals later
- Using a shared Wi-Fi network that's congested with other devices, causing transaction delays
- Not assigning individual staff PINs makes it harder to track who processed which sale
- Ignoring software updates, since Clover periodically pushes security and performance patches
Taking an extra ten minutes to double-check these areas during setup will save hours of troubleshooting later.
Final Thought
A well-rounded Clover POS installation guide depends upon the preparation process, including the collection of all your documents, the availability of a reliable internet connection, and following the activation process in order. After this stage, the software is designed to work on its own without any further need for maintenance on your part. Now that you have everything in place, you can start your business operation.